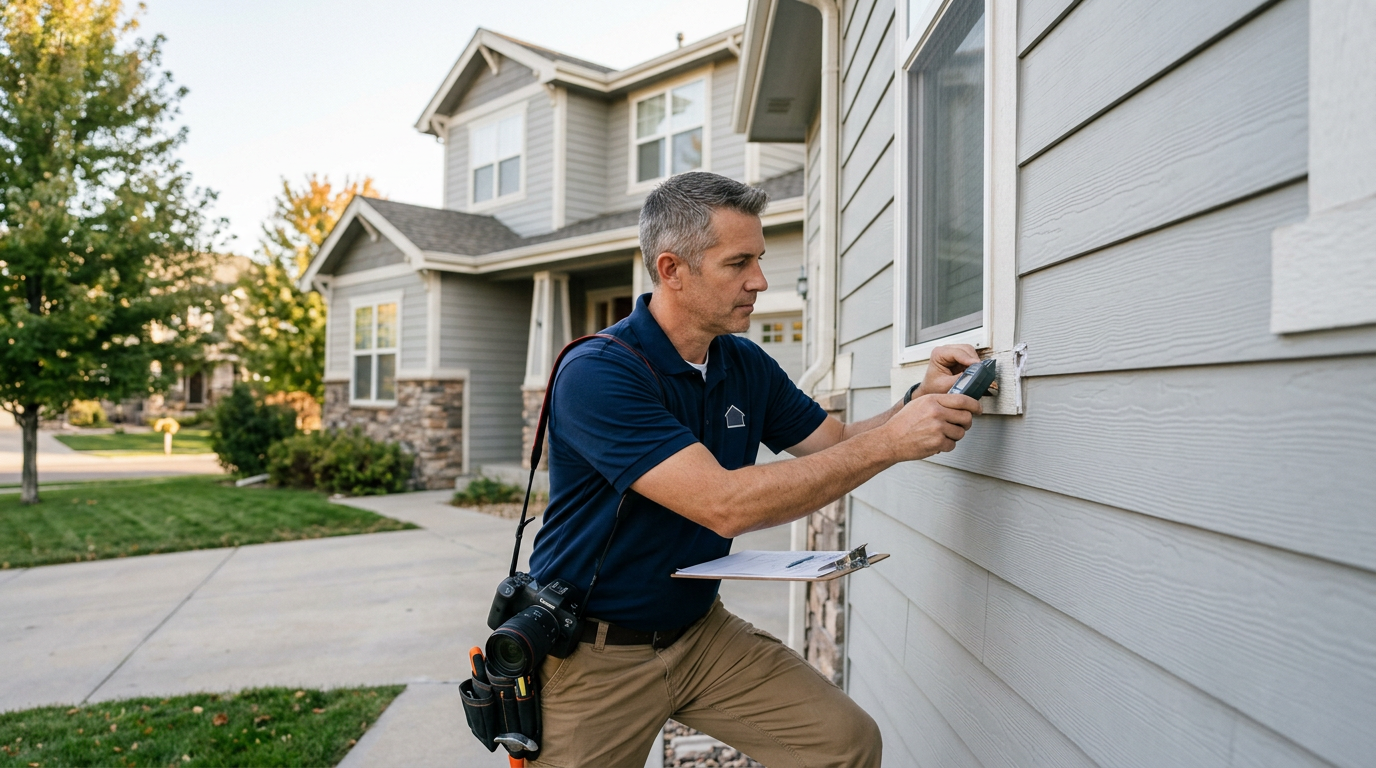
The siding of your house serves as its primary protective barrier against the elements, a critical component of the building envelope that shields the interior from rain, wind, sun, and pests. A thorough home inspection of your home’s siding goes far beyond a superficial glance; it’s a detailed evaluation of its material integrity, installation quality, and overall performance in safeguarding your investment. For homeowners, prospective buyers, and sellers, understanding the nuances of siding inspection is paramount to identifying potential issues early, preventing costly repairs, and ensuring the longevity of the structure.
The Anatomy of House Siding: What an Inspector Examines
A professional home inspector meticulously evaluates all visible and accessible exterior wall coverings, commonly referred to as siding. This examination is not merely about aesthetics but focuses on the functional performance of the siding system. Key aspects include:
- Material Type and Condition: Identifying the type of siding (e.g., vinyl, fiber cement, wood, stucco, brick veneer, metal) and assessing its general state, looking for signs of wear, deterioration, or damage specific to that material.
- Installation Quality: Checking for proper installation techniques, including adequate fastening, correct overlaps, and appropriate clearances from grade and other surfaces.
- Integrity of the System: Inspecting for cracks, holes, rot, delamination, buckling, warping, or missing sections that could compromise the weather barrier.
- Flashing and Sealants: Critically examining flashing around windows, doors, utility penetrations (such as dryer vents and hose bibs), roof-to-wall intersections, and at the foundation. Sealants (caulking) are checked for integrity and adhesion.
- Moisture Management: Looking for visual indicators of moisture intrusion, such as staining, efflorescence (white powdery deposits on masonry), mold/mildew growth, or soft/spongy areas.
- Grading and Drainage: Assessing the surrounding landscape’s grading to ensure it directs water away from the foundation and siding, preventing splashback and excessive moisture exposure.
- Penetrations and Attachments: Evaluating the sealing and condition of all items that penetrate the siding, including electrical conduits, light fixtures, and deck ledger boards.
- Paint or Finish: For painted or stained siding, the condition of the finish is noted, as it contributes to the material’s protection.
Technical Considerations and Practical Inspection Logic
An experienced home inspector employs a systematic approach and often specialized tools to assess siding. This goes beyond what a casual observer might notice.
Moisture Intrusion Detection
One of the most critical aspects of siding inspection is identifying potential moisture intrusion. Water penetration can lead to significant structural damage, mold growth, and pest infestations. Inspectors look for:
- Visual Cues: Water stains, peeling paint, efflorescence, or visible mold on the exterior or interior walls adjacent to the siding.
- Tactile Assessment: Probing suspicious areas with a non-invasive tool or by hand to detect soft or spongy wood, indicating rot.
- Moisture Meters: A non-invasive moisture meter is frequently used to detect elevated moisture levels behind the siding, especially around windows, doors, and at the base of walls. While these tools provide valuable data, they do not confirm a leak, but rather indicate areas that warrant further investigation by a qualified specialist.
Grading and Drainage Impact
The ground around your home plays a crucial role in protecting your siding. Proper grading and drainage ensure that rainwater flows away from the foundation. Inspectors check for:
- Negative Grading: Where the ground slopes towards the house, directing water into the foundation and potentially causing splashback onto the lower sections of siding, leading to premature deterioration.
- Blocked Drainage: Clogged gutters, downspouts discharging too close to the foundation, or excessive landscaping can all contribute to water accumulation against the siding.
The Importance of Flashing
Flashing, typically made of metal or plastic, is installed at critical junctures to divert water away from vulnerable areas. Common flashing deficiencies include:
- Missing or Improperly Installed Kick-Out Flashing: At roof-to-wall intersections, especially where a roof plane terminates into a wall, kick-out flashing is essential to prevent water from running down the wall and behind the siding.
- Window and Door Flashing: Inadequate or deteriorated flashing around openings is a primary source of water leaks.
- J-Channel and Z-Flashing: Used with certain siding types (e.g., vinyl, fiber cement) to manage water at transitions and terminations.
Material-Specific Considerations
- Vinyl Siding: Prone to buckling or warping from heat, cracking in cold weather, and becoming brittle with age. Loose panels can allow wind-driven rain entry.
- Fiber Cement Siding: Generally durable, but can develop cracks, especially at corners or where fasteners are overtightened. Proper painting and sealing are crucial. Clearances from grade are critical to prevent moisture wicking.
- Wood Siding (Clapboard, Shingles, Shakes): Susceptible to rot, insect damage (termites, carpenter ants), splitting, cupping, and paint failure. Requires regular maintenance.
- Stucco (Traditional and EIFS): Cracks are common and can indicate structural movement or allow water intrusion. Inspectors look for proper weep screeds at the base and kick-out flashing. Exterior Insulation and Finish Systems (EIFS) require specific inspection protocols due to past moisture issues.
- Brick Veneer: While durable, mortar joints can deteriorate, and weep holes (small openings at the base of the brick) must be clear to allow moisture to escape the wall cavity. Efflorescence indicates moisture behind the brick.
Common Defects, Red Flags, and Their Implications
Identifying these issues is key to understanding the home’s condition:
- Missing or Damaged Flashing: A significant red flag indicating a high probability of water intrusion, leading to rot, mold, and structural damage.
- Rot or Soft Spots: Directly indicates active or past moisture damage, often accompanied by pest activity. This can compromise structural integrity.
- Large Cracks or Gaps: Especially in stucco, fiber cement, or wood, these are direct pathways for water, air, and pests.
- Siding in Contact with Grade: An improper clearance (typically 6-8 inches for most siding types) allows moisture to wick into the siding and framing, inviting pests and rot.
- Buckling or Warping: Can indicate improper installation (e.g., vinyl siding not allowed to expand/contract), moisture behind the siding, or structural movement.
- Efflorescence on Masonry: A white, powdery residue indicating moisture is moving through the masonry and evaporating, leaving mineral salts behind. This suggests a moisture source that needs to be addressed.
- Pest Damage: Holes, tunnels, or nests in siding can indicate active infestations by termites, carpenter ants, or woodpeckers, which can cause significant structural damage.
- Inadequate or Blocked Weep Holes: In brick or stucco, these are essential for draining moisture from the wall cavity. Blockage can trap water, leading to internal damage.
Homeowner’s Role: What You Can Safely Observe and Prepare
While a professional inspection is crucial, homeowners can perform basic visual checks and prepare their property to facilitate a thorough inspection:
- Regular Visual Inspections: Walk around your home periodically, looking for obvious signs of damage, loose panels, or peeling paint.
- Maintain Clearances: Ensure shrubs, trees, and other landscaping are trimmed back at least 6-12 inches from the siding to allow for airflow and prevent moisture retention.
- Check Gutters and Downspouts: Keep them clean and ensure downspouts extend several feet away from the foundation.
- Sealants: Inspect caulking around windows, doors, and penetrations annually and reapply as needed.
- Clean Siding: Regularly clean your siding to prevent mold, mildew, and dirt buildup, which can trap moisture.
Common Homeowner Mistakes That Obstruct Siding Inspection
As a seller or homeowner preparing for an inspection, avoiding these common mistakes can ensure a comprehensive evaluation:
- Overgrown Landscaping: Dense bushes, vines, or trees directly against the house obscure large sections of siding, preventing the inspector from seeing potential damage, moisture issues, or pest entry points.
- Stored Items Against Exterior Walls: Piles of firewood, gardening tools, or storage bins leaning against the siding can hide defects and create moisture traps.
- Locked Gates or Inaccessible Areas: If parts of the exterior are behind locked gates or otherwise inaccessible, the inspector cannot fully evaluate the siding in those areas.
- Not Addressing Obvious Issues: While you don’t need to fix everything, leaving glaring issues like large holes or extensive rot unaddressed can raise immediate red flags and suggest a lack of maintenance.
Repair Cost vs. Benefit & Negotiation Implications
Addressing accessible siding problems before an inspection can significantly improve the property’s presentation and potentially streamline the negotiation process. Minor, visible repairs, such as re-caulking, replacing a few loose vinyl panels, or trimming back overgrown plants, demonstrate proactive maintenance. This can reduce the number of avoidable repair requests, credits, or price concessions from a buyer.
While an inspector identifies deficiencies, they do not provide repair estimates. However, their findings will inform buyers about potential future costs. For instance, extensive moisture intrusion indicated by a moisture meter reading might lead a buyer to request a specialist’s evaluation, potentially resulting in a significant repair request. Conversely, a well-maintained exterior with only minor cosmetic flaws presents a positive impression and reduces perceived risk. Findings should always be evaluated fairly and professionally, focusing on safety, structural integrity, and functional performance.
When to Call a Specialist
A home inspector provides a general overview of the property’s condition. When specific or severe siding issues are identified, further evaluation by a qualified specialist is often recommended:
- Siding Contractor: For major repairs, replacement, or significant installation deficiencies. They can provide detailed assessments and estimates for specific siding types.
- Moisture Intrusion Specialist: If the home inspector identifies elevated moisture readings or strong evidence of hidden water damage, a specialist with advanced diagnostic tools (e.g., thermal imaging, invasive moisture testing) can pinpoint the source and extent of the problem.
- Pest Control Professional: For any signs of active insect infestation or significant pest damage to the siding or underlying structure.
- Structural Engineer: If siding issues appear to be related to underlying structural movement, foundation problems, or significant framing damage.
Printable Home Inspection Checklist: Siding Evaluation
Use this actionable checklist to assess your home’s siding or prepare for an inspection:
- ☐ Walk around the entire perimeter of the house, observing the siding from a distance and up close.
- ☐ Identify the type of siding material (e.g., vinyl, wood, fiber cement, stucco, brick).
- ☐ Look for any visible cracks, holes, dents, or missing sections in the siding.
- ☐ Check for signs of rot, soft spots, or delamination, especially on wood or fiber cement siding.
- ☐ Examine all seams, overlaps, and corners for proper installation and tight fit.
- ☐ Inspect flashing around all windows, doors, and utility penetrations for damage or gaps.
- ☐ Verify that all caulking and sealants are intact, flexible, and not cracked or missing.
- ☐ Ensure proper clearance between the bottom of the siding and the ground (typically 6-8 inches).
- ☐ Observe the ground grading around the foundation; it should slope away from the house.
- ☐ Check for any water stains, efflorescence, or mold/mildew growth on the siding or foundation.
- ☐ Look for signs of pest activity, such as holes, nests, or insect trails.
- ☐ Confirm that all weep holes (in brick or stucco) are clear and unobstructed.
- ☐ Trim back any overgrown vegetation that is in contact with the siding.
- ☐ Remove any stored items leaning against the exterior walls.
Frequently Asked Questions (FAQ) About Siding Inspection
Q1: How long does house siding typically last?
A1: The lifespan of siding varies significantly by material. Vinyl siding can last 20-40 years, fiber cement 30-50 years, wood siding 20-40 years (with proper maintenance), and brick veneer can last 100+ years. Regular maintenance and proper installation are key factors in extending its life.
Q2: Is minor siding damage a deal-breaker during a home inspection?
A2: Minor cosmetic damage, like a small crack or a faded section, is usually not a deal-breaker. However, widespread damage, signs of significant moisture intrusion, or issues that compromise the building envelope’s integrity can be major concerns that warrant further investigation and repair.
Q3: What’s the most durable type of siding for a house?
A3: Brick and stone veneers are generally considered the most durable, often lasting for centuries with minimal maintenance. Fiber cement siding is also highly durable, resistant to fire, pests, and rot, offering a long lifespan with proper care.
Q4: Can I repair siding myself, or do I need a professional?
A4: Minor repairs, such as replacing a single vinyl panel, re-caulking, or patching small holes in wood siding, can often be done by a DIY-savvy homeowner. However, extensive damage, moisture intrusion issues, or complex installations (like stucco or large sections of fiber cement) typically require the expertise of a professional siding contractor.
Q5: How often should I clean and maintain my house siding?
A5: It’s generally recommended to clean your siding annually or biannually to remove dirt, mold, and mildew. Regular visual inspections should be performed at least twice a year (spring and fall) to catch any potential issues early. For wood siding, repainting or restaining may be needed every 5-10 years.
Official Reference: For additional context, consult InterNACHI home inspection guidance.
Official Reference: For additional context, consult ASHI inspection standards and guidance.