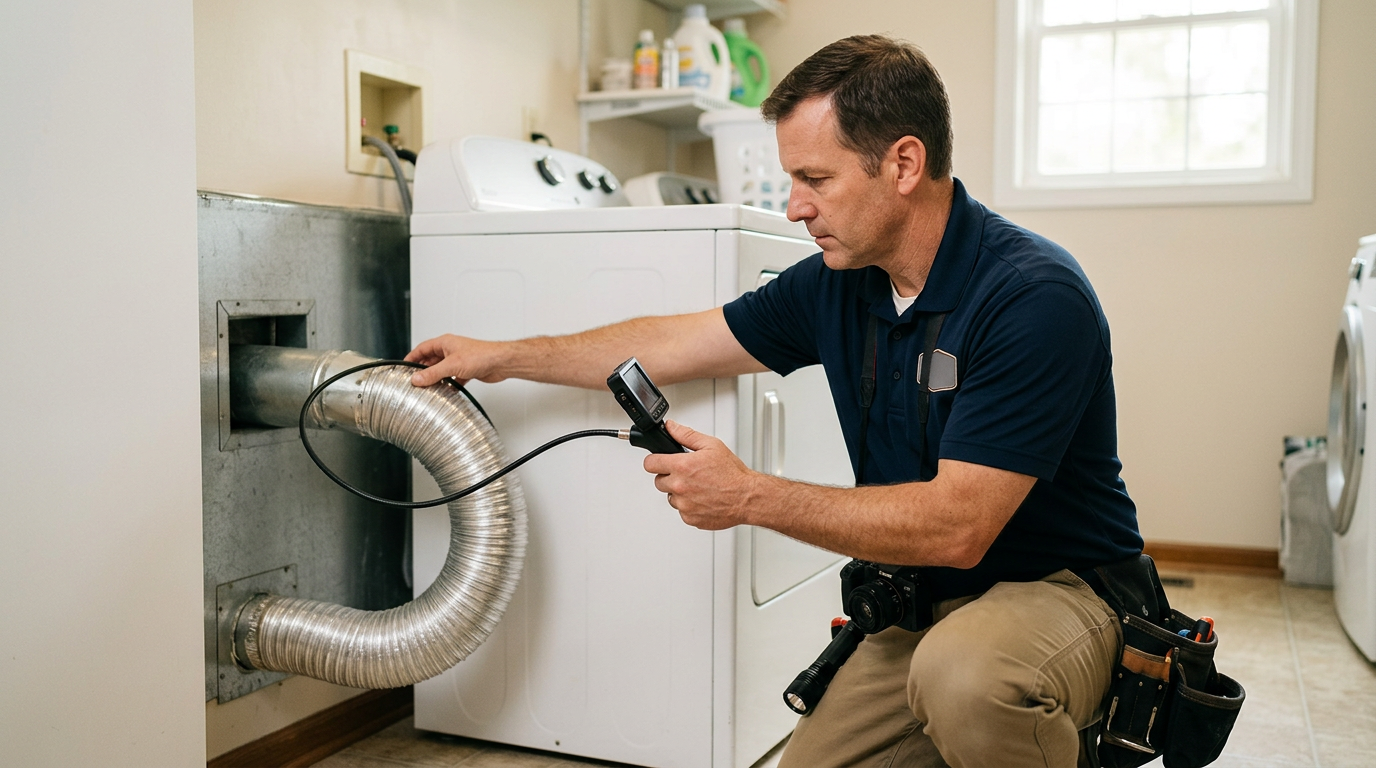
A properly functioning dryer duct system is not merely about drying clothes efficiently; it’s a critical component for home safety, energy efficiency, and indoor air quality. During a home inspection, issues with dryer ducts are frequently identified, ranging from minor maintenance needs to significant fire hazards. Addressing these concerns promptly through proper dryer duct repair is essential to prevent lint accumulation, which is a leading cause of household fires, reduce energy consumption, and extend the life of your appliance. Complete Guide to Sprinkler System Installation: Inspection Findings, Maintenance, and Repair Considerations Complete Guide to Sprinkler System Repair: Inspection Findings and Next Steps Complete Guide to the ‘Rule of the Right Hand’ and ‘Maypole’ in Home Inspection Complete Guide to Heating System Installation Inspections
What a Home Inspector Looks For in Dryer Duct Systems
A professional home inspector evaluates the dryer duct system with a keen eye for safety, functionality, and compliance with general industry standards. While inspectors do not dismantle appliances or ducts, they perform a thorough visual and functional assessment of accessible components.
Key Inspection Points:
- Duct Material: The most critical aspect. Inspectors look for rigid metal (galvanized steel or aluminum) or semi-rigid aluminum ducting. Flexible vinyl or foil ducts are significant red flags due to their flammability and propensity to trap lint.
- Duct Length and Configuration: Excessive length and too many 90-degree bends severely restrict airflow. The International Code Council (ICC) and appliance manufacturers typically specify maximum allowable lengths, often reducing the maximum run by 5 feet for each 90-degree elbow.
- Connections: All duct sections should be securely fastened with metal clamps or foil tape. The use of screws at connections is a defect, as screws protrude into the duct, snagging lint and increasing fire risk.
- Termination Point: The duct must terminate to the exterior of the home, not into an attic, crawlspace, wall cavity, or other enclosed area. Termination should be equipped with a proper vent hood that includes a backdraft damper and, crucially, no screen. Screens can trap lint and lead to blockages.
- Condition of Ducting: Inspectors check for crushed, kinked, disconnected, or damaged sections of the duct, which impede airflow and can allow lint and moisture to escape into the home.
- Lint Accumulation: Visible lint buildup at the exterior termination point or within accessible sections of the duct indicates a blockage or poor airflow.
- Signs of Moisture Intrusion: Staining or moisture around the dryer, ductwork, or exterior termination can suggest condensation issues or leaks, potentially leading to mold growth or structural damage.
Common Defects and Red Flags
Understanding these common issues can help homeowners identify potential problems even before an inspection.
- Flexible Vinyl or Foil Ducting: This is perhaps the most common and dangerous defect. These materials are highly flammable, easily crushed, and have corrugated interiors that readily trap lint. They should be replaced with rigid or semi-rigid metal ducts.
- Ducts Terminating in Enclosed Spaces: Venting hot, moist, lint-laden air into an attic, crawlspace, or wall cavity creates severe moisture problems, promotes mold growth, and poses a significant fire hazard.
- Excessive Lint Buildup: A thick layer of lint inside the duct or at the exterior vent is a clear sign of poor airflow and a high fire risk. The Consumer Product Safety Commission (CPSC) highlights lint accumulation as a primary cause of dryer fires.
- Disconnected or Loose Duct Sections: Allows lint and moisture to escape, creating fire and moisture hazards within the home’s structure.
- Screws Used at Connections: These create internal obstructions that snag lint, leading to blockages and increased fire risk.
- Crushed or Kinked Ducts: Often occurs when the dryer is pushed too close to the wall, severely restricting airflow and causing the dryer to overheat.
- Damaged or Missing Exterior Vent Hood: A missing or broken vent hood allows pests, rain, and debris into the duct, leading to blockages and potential damage.
- Screened Vent Hoods: While seemingly logical, screens on dryer vent hoods are prohibited because they quickly become clogged with lint, restricting airflow and creating a fire hazard.
Practical Evaluation and Maintenance
Homeowners can perform basic checks to ensure their dryer duct is functioning optimally:
- Check Drying Time: If clothes are taking longer than usual to dry, or feel excessively hot after a cycle, it’s a strong indicator of a restricted dryer vent.
- Inspect the Exterior Vent: Periodically check the exterior termination point for lint buildup or obstructions. Ensure the damper flap opens freely when the dryer is running.
- Feel for Airflow: With the dryer running on a heat cycle, go outside and feel the airflow coming from the vent. It should be strong and warm. Weak airflow suggests a blockage.
- Clean the Lint Trap: Always clean the lint trap before or after every load.
Common Homeowner Mistakes That Obstruct Inspections
To ensure a comprehensive home inspection, homeowners should avoid these common pitfalls related to dryer ducts:
- Inaccessible Dryer or Ducting: If the dryer is pushed tightly against a wall, or if the ductwork is concealed behind permanent structures, the inspector may not be able to fully assess its condition.
- Uncleaned Lint Trap: While not directly obstructing the duct inspection, a full lint trap can give a false impression of dryer performance.
- Utilities Turned Off: If the electricity is off, the inspector cannot test the dryer’s function or observe airflow from the vent.
- Ignoring Performance Issues: Not disclosing known issues like long drying times can lead to surprises in the inspection report.
Repair Cost vs. Benefit & Negotiation Implications
Addressing dryer duct issues before a home inspection can significantly benefit sellers. Proactive repair demonstrates diligence, reduces the likelihood of these items appearing as defects in the inspection report, and can prevent potential buyers from requesting credits or price concessions. The cost of repairing or replacing a dryer duct is typically minor compared to the potential costs of a house fire, higher energy bills, or premature dryer replacement.
For buyers, understanding the implications of dryer duct findings is crucial. A defective dryer duct is not just an aesthetic issue; it’s a safety concern that warrants attention. Negotiating for repairs or a credit to cover the cost of professional repair is a reasonable request.
When to Call a Specialist for Dryer Duct Repair
While some minor maintenance, like cleaning the lint trap or the very end of the exterior vent, can be DIY, most dryer duct repairs and replacements require a professional.
- HVAC Technician or Appliance Repair Specialist: These professionals are equipped to:
- Replace improper duct materials (e.g., flexible vinyl with rigid metal).
- Re-route ducts to meet length and bend requirements.
- Secure connections properly with appropriate clamps and foil tape.
- Install correct exterior vent hoods.
- Perform thorough internal duct cleaning using specialized tools.
- Diagnose and repair dryer performance issues related to venting.
- General Contractor: If the ducting requires modification to the home’s structure (e.g., cutting new holes for proper termination), a general contractor may be needed in coordination with an HVAC specialist.
Never attempt to repair gas dryer ducts if you are not qualified. Gas appliances require specialized knowledge to ensure safe operation and prevent gas leaks.
Printable Home Inspection Checklist: Dryer Duct System
Use this checklist to evaluate your dryer duct system or prepare for an inspection:
- Verify Duct Material: Is the duct made of rigid metal (galvanized steel or aluminum) or semi-rigid aluminum? (Avoid flexible vinyl/foil).
- Check for Kinks/Crushes: Is the duct free of kinks, crushes, or damage, especially behind the dryer?
- Inspect Connections: Are all duct sections securely fastened with metal clamps or foil tape, with no screws protruding into the duct?
- Confirm Exterior Termination: Does the duct vent directly to the exterior of the home, not into an attic, crawlspace, or wall?
- Examine Exterior Vent Hood: Is the exterior vent hood intact, free of screens, and does its damper flap open and close freely?
- Assess Lint Buildup: Is there excessive lint visible at the exterior vent or within accessible duct sections?
- Observe Dryer Performance: Does the dryer effectively dry clothes in one cycle? Is there strong, warm airflow from the exterior vent when running?
- Check for Moisture: Are there any signs of moisture, staining, or mold around the dryer or ductwork?
- Ensure Accessibility: Is the area around the dryer and its duct connections clear for inspection?
Frequently Asked Questions (FAQ)
Q: Why is flexible vinyl dryer ducting a fire hazard?
A: Flexible vinyl or foil ducting is highly flammable and has a corrugated interior surface that easily traps lint. When lint accumulates and the dryer overheats, these materials can ignite much more readily than rigid metal ducts, leading to a house fire.
Q: How often should I clean my dryer duct?
A: It’s recommended to have your dryer duct professionally cleaned at least once a year, or more frequently if you notice longer drying times, excessive lint buildup, or if you have a large household with heavy dryer usage.
Q: Can a clogged dryer vent cause my dryer to break?
A: Yes, a clogged dryer vent can cause your dryer to work harder, overheat, and eventually lead to premature wear and tear on components like the heating element and motor. This can significantly shorten the appliance’s lifespan and lead to costly repairs.
Q: What’s the difference between rigid and semi-rigid dryer ducting?
A: Rigid dryer ducting is typically made of smooth, galvanized steel or aluminum pipe sections, offering the best airflow and lint resistance. Semi-rigid ducting is also aluminum but has a slightly corrugated, flexible design that allows for some bending, making it easier to install in tight spaces while still being safer than vinyl/foil. Both are acceptable, but rigid is generally preferred for long, straight runs.
Q: Who should I call to repair my dryer duct?
A: For most dryer duct repairs, including replacement of improper materials, re-routing, or thorough cleaning, you should contact a qualified HVAC technician or an appliance repair specialist. They have the expertise and tools to ensure the duct system is safe and efficient.
Official Reference: For additional context, consult InterNACHI home inspection guidance.
Official Reference: For additional context, consult ASHI inspection standards and guidance.